
Well, my 2nd Granddaughter is almost 18 months old now and I just finished her baby book! I started it before she was born but was never really happy with it. So, I put it away and never got it back out. My poor daughter just kept making notes and hanging them on the fridge for the day I would finish the book and give it to her to fill in. In January she went out shopping for a pre-made baby book and just couldn't find one she liked. So I told her I would get it done, but that I needed to go a whole different direction with it. So no more cutsie little pastel animals etc. I threw out the old book I had started and made this one. I really really like the way it turned out!!! The other nice thing was I already had all of this Teresa Collins paper on hand so the only thing I had to buy was the little pink rhinestones. The other bonus of waiting this long to get it done was that I already had most of the photos that would go in the book so now all Bryanna has to do is fill in the info and add a couple photos of he choice.
I rarely share an entire project's photos here on my blog but today I decided I would show off the whole project. I hope you will like it and will be inspired to finish (or start over on) a project you have stashed away. Remember you can click on the photos to enlarge them to see the details

This is obviously the cover of the book. I used a simple black frame I got in the dollar bin at Micheal's a while back and added one of my favorite pictures I took of my Bug when she was only a week old.

This is a close up of the cover's details. I used some tiny pink roses, some bling flourish, a TC chipboard clock and a TC crown charm. The quote was cut out of some of the TC Baby Girl Chic paper (this whole book uses that line and a few other TC pink papers)
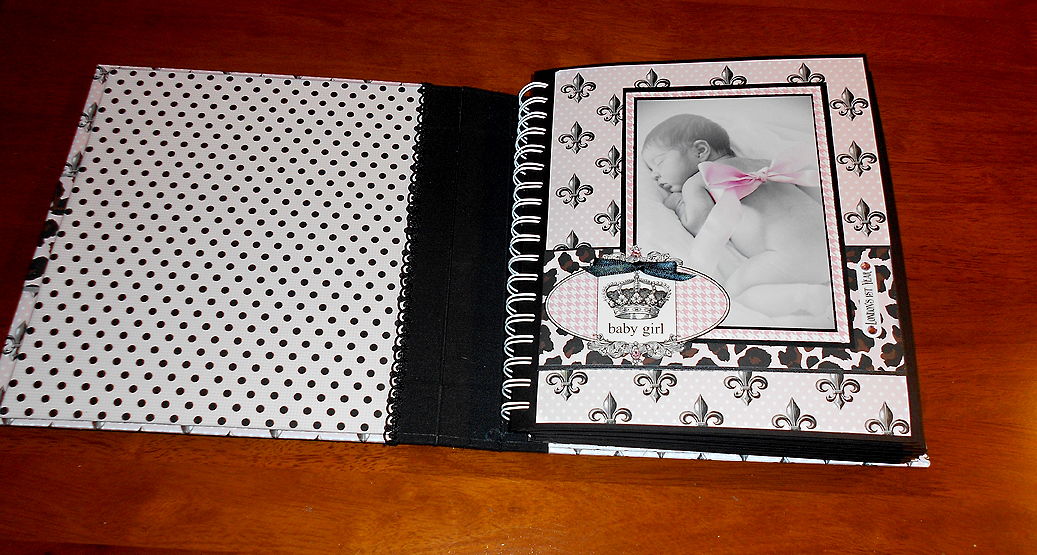
I used the Cinch to bind the book together and used my favorite "Marta binding" on this book. This is so nice because it lies totally flat for writing in.

I used the same photo as on the front cover for the first page, just bigger. She looks like a little angel in this picture!

This next set of pages is all about her arrival day. Bryanna will be filling in all of the stats. More TC chipboard, pink rhinestones and little black satin bows. I made the text box frame with a digital frame I purchased a while back. You will see this frame over and over again in the book. All of the text work was done in my fav program "Print Master"

The photo flips up to show 2 more of her "first" photos. I had a hard time deciding which one to use so I decided to make it flip so I wouldn't have to choose!

This is the "Visitors" page. I added a photo of all of us at the hospital getting to see her for the first time. And then a text box for Bryanna to record everyone that actually came to visit.

This is the Birth Announcement/Homecoming page. My computer crashed right after Bug was born so I do not have a photo of her actual homecoming but I figure they can put a picture of the house there. I made an envelope with my Cricut machine to hold the birth announcement.

I wanted to "hide" the announcement because it really didn't match the baby book at all with all of it's red, white & blue Union Jack stuff!

This is the "Family" page showing each member of Bugs new family holding her.
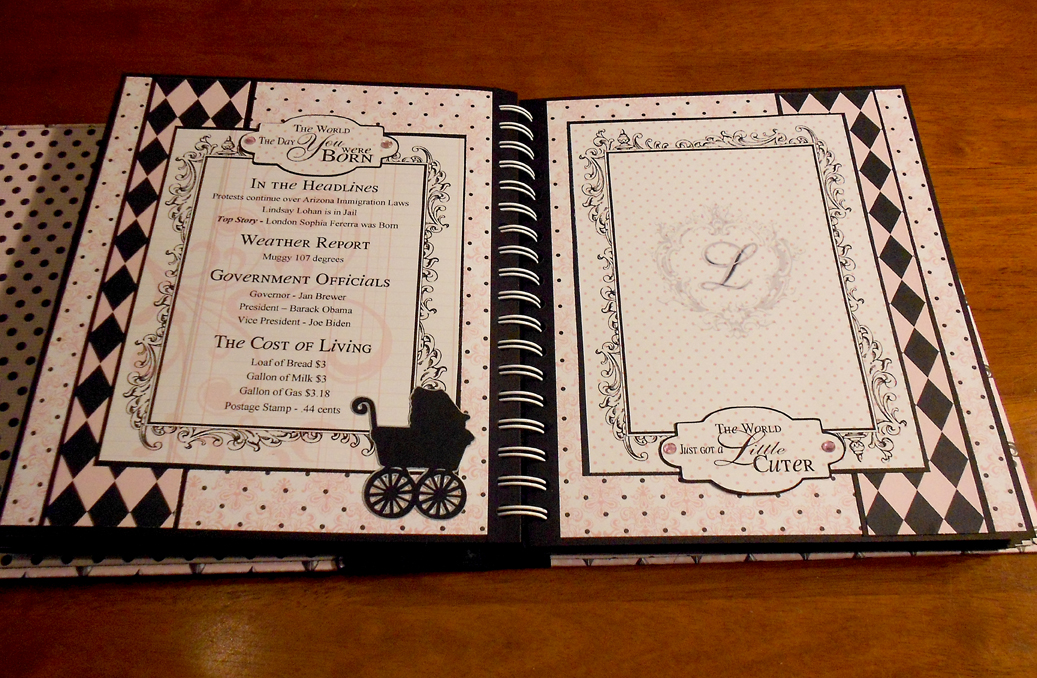
It was important to Bryanna to have this section in Bug's book too so this has the headlines and prices of things the day she was born. I left the facing page's frame empty so she could add a photo of her choice there. Notice it is that same digital frame again. I used my Cricut machine throughout the book as well for the little title cards and some of the embellishments. The buggy is from the Heritage cartridge and the title cards are from Teresa Collins' Sophisticated cartridge.

This spread is for Bugs doctor visits. I drove them to her first appointment so I was able to get this photo of the Doc examining her.

The appointment text flips us for her to record all of Bug's shots

The next few pages are of Bug's first big holidays. This one is her 1st Christmas. I used the same layout on each of the holiday pages. The framed text box has a place to write where they celebrated, who was there, what they did and Christmas even has a space for gifts received.

These holiday pages also have photo mats that flip up so there can be more than one photo of the event.
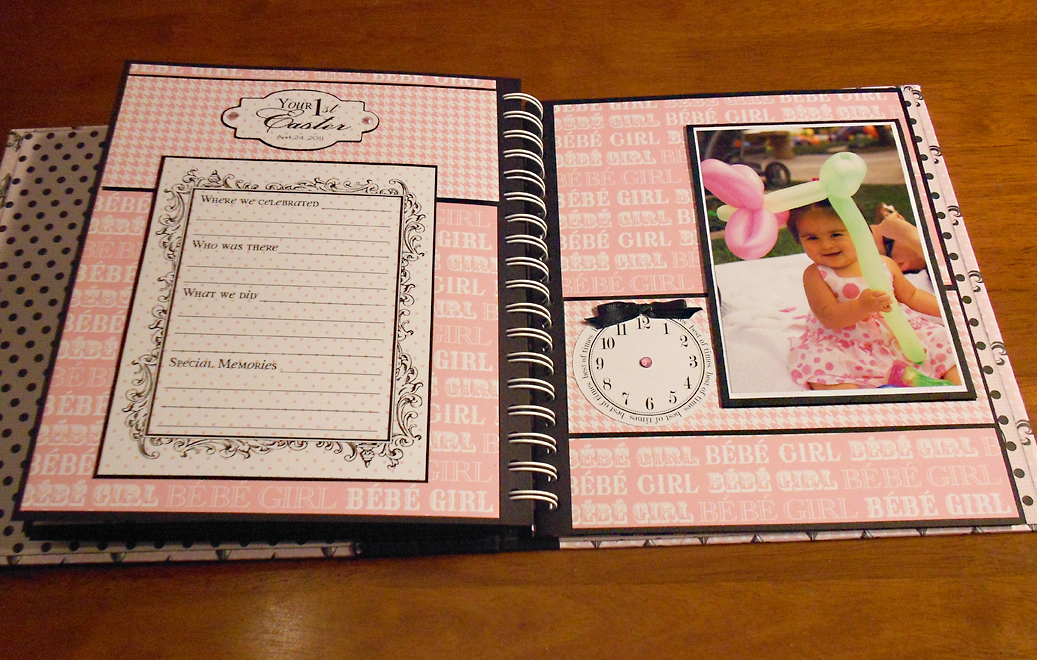
1st Easter


This is for her 1st Birthday. This photo is one of the photos we used on her party invitation. I made that big #1 with my Cricut machine out of 8 layers of chipboard and glitter paper so it would hold up through the shoot.

Then in the flip up I added a picture of her and her cake at her party and a picture of all of us together at Disneyland (the trip was her present from me)

This is the last page - just a simple photo mat with that frame and I added a digital monogram that I made out of a homemade PNG file of one of Teresa Collins' frames. The label on the back cover simply says "made with love by your Amma"
Well thanks for taking the time to look at my baby book - it feels so good to have it all finished. It only took me about 4 days to do it once I got started. Now Bryanna can get those notes off of the fridge and record it all here.
Just a little side note to all of the Grandma's and Soon-to-be-Grandmas out there. . .
What you do for one Grandchild you need to be able to do for the next one! This is Monkey's Baby book I made when she was born if you want to peek. . .
Have a creative and joyful weekend!
Silly me I just realized I forget to post this set of pages! This is one of the most important parts of a baby book! This is all of the "Firsts" pages. You know, first steps, first word, first tooth. . .

So anyways - here it is - just like the making of the book, better late than never!
Toodles
2 comments:
This book is Stunning! I want to make a baby book for one of my friends that is pregnant. Would you be willing to sell the files you made for recording information?
cmaupin1@columbus.rr.com
Love the baby book Marta! You are so talented.
Post a Comment