
Well, Thanksgiving is officially over now - there is not one sliver of pumpkin pie left in the house! Not sure what I will have for breakfast in the morning now?
I hope all of you had a great Thanksgiving. Mine had it's ups and downs, but for the most part was very nice.
Now it is time to get busy with Lizzy's 21st Birthday (which is in 8 days!!!)
and of course Christmas.
I spent Black Friday not shopping, but in my studio. I am trying to get Lizzy's book ready before we leave for Vegas. I started it a couple of weeks ago and made a HUGE mistake on it and so I just put it away until I decided how I was going to fix it. I never figured that out! So, Friday I started a new one - totally different style and concept but with the same papers. Tonight I finished the book block and hopefully tomorrow I can get the covers made and get it assembled and ready to pack. I thought some of you might enjoy seeing the mess I make when I create. Most of you know how anal and organized I am, so this might surprise you. I must say that I make this huge mess but usually stop once or twice while I am creating and clean it all up and then immediately get it all back out and start again. It is silly I know, but this mess makes me CRAZY!!!!
 So here's my desk area - it's under there somewhere!
 Here is the floor - I really like working on the floor more than at my desk - so this is usually where you will find me!
 Here's my desk again and part of the book I am working on for Lizzy
 Here's an overview of it all!
 I have been a busy little crafter lately. Besides Lizzy's book, I have been sewing like crazy (I will share pictures soon) I made all of the gifts for my little nieces & nephews this year. I made Doodle purses for the little ones and cloth books for the babies. I also made a few aprons (they turned out sooo cute!) while I had my machine out. Bryanna and I spent last Sunday making Money Books for her nieces & nephews and for my older nieces. They turned out so cute and were so easy to make that I decided I would have a little online mini workshop for you all. This is a fast project and a great way to give money as a gift. It could be changed for birthdays, graduations, weddings, anything really.
Here's what they look like - aren't they sweet!?!

 You could really get creative with the embellishments on these, but we kept them simple with just a silver bookplate with their name on the cover.
  Inside the book there are ten 1 dollar "pages". You could fill it with any amout or denomination you want, but mine got $10. They can pull out one bill at a time to use or take it all out at once. You can even refill it with more money after they spent it all if you wanted.
So here's how to make them. . .
 Supplies:
 2 pieces of bookboard 3.25"x3"
(you can use chipboard but I had plenty of scrap bookboard here)
1 piece of 2" wide Tyvek tape 5" long
1 piece of 2" wide Tyvek tape 2.75" long
(you could use any of the great colors of duck tape if you don't have tyvek)
26" of embroidery floss
(you could also use yarn or even waxed linen thread)
2 pieces of decorative paper 3.50"x4"
2 pieces of decorative paper 3"x3"
(I used scrapbook paper but you could also use wrapping paper, the funnies or whatever)
Favorite glue or adhesive
(I used my xyron machine - it's fast!)
 Lay your cover boards on your biggest piece of tyvek tape .25" apart as shown above
(you want your book to be 3" tall and 3.25" wide)
 Fold tape ends up over your boards
 cover the gap with your smaller piece of tape
 It should look like the picture above. Now run a bone folder (or popcicle stick) in the empty space between your boards.
 Now you will want to close your book and form your "spine" with your fingers.
 Cover the outside with your bigger pieces of paper, being sure to mitre your corners and leaving about 1/2" of your tape showing (makes it look like a real book that way)
 Fold tape ends up over your boards
 cover the gap with your smaller piece of tape
 It should look like the picture above. Now run a bone folder (or popcicle stick) in the empty space between your boards.
  Now you will want to close your book and form your "spine" with your fingers.
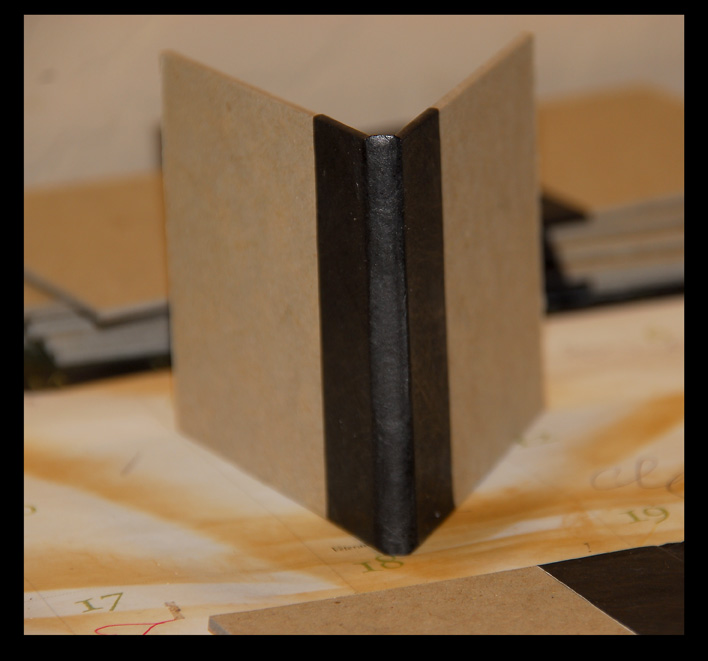 Cover the outside with your bigger pieces of paper, being sure to mitre your corners and leaving about 1/2" of your tape showing (makes it look like a real book that way)
 Use your 3x3 papers to cover the inside of your book cover.
Lay your dollars inside your book and mark on the inside of your spine the top & bottom of your bills. Thread a needle with your floss and poke a hole in both of your markings. Starting on the outside of your book, sew into the spine (leaving a 3" tail), over the bills and back out your spine. repeat this 3 times pulling thread taught and ending up on the outside of the book. Tie the ends of your floss together in a knot and you are finished!
I hope you enjoyed our little mini class and I hope you will make a few and give them as gifts this year. I am hoping someone makes me one with hundred dollar bills in it!!!!
Well, it is 2:30 in the morning and I need to say goodnight!
Enjoy the reast of your weekend!
No comments:
Post a Comment